Application
Download
Exercises
Gallery
Exercises
Day 2
Day 3
Day 4
Web
SW references
Manual
Appl. Dev. Man
Presentations
Slides
Introduction
A Geant4 application example is provided, which serves as basis of the exercises. The same example is used as a starting point for each day, but the focus is on different parts of the application according to the specific topics presented in the morning lectures. Each day, the exercises include the modification and/or extension of a few classes of the simulation application.
A webpage was prepared for each exercise session, including instructions and hints, and links to solutions (which are only available after a given time interval). For each day, the exercises are grouped into several categories, which may cover different topics.
Links to the webpage for each day's exercise instructions can be found in the panel on the left.
On the panel you can also find useful links, e.g. to the Geant4 software reference manual (online) or the Geant4 application developers manual.
Example Application
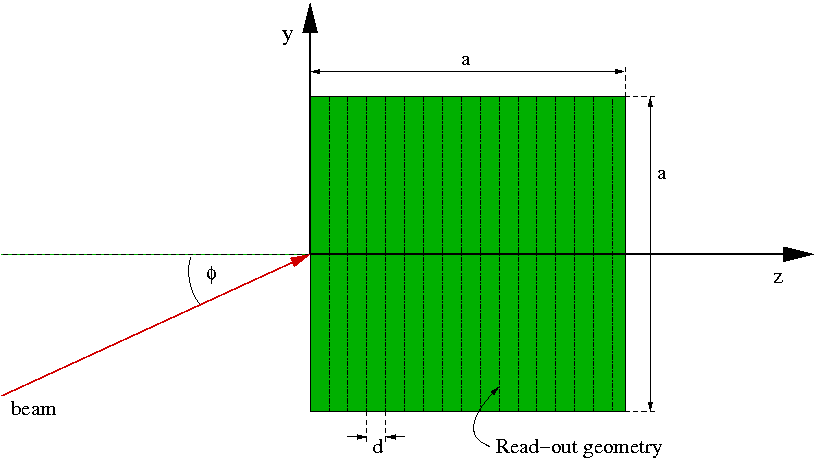
The Geant4 simulation example used in the exercises models a simple box-shaped silicon detector. An electron beam is shot onto the detector; the energy distribution of the beam is a Gaussian. The following beam parameters can be changed via macro commands
-
Incident angle
-
Primary beam energy
-
Sigma of the Gaussian
The geometry is illustrated in the below figure (click on the figure to enlarge it (.gif format). Alternatively, click here to get a high-resolution EPS plot of the geometry, or here for a PDF file).
The detector setup in the application example consists of
-
a sensitive detector,
-
a read-out geometry (see figure above),
-
and a customized hit class.
The physics setup is organized in a modular physics list with the following components:
-
Electromagnetic (EM) physics for electrons
-
Electromagnetic (EM) physics for positrons
-
Electromagnetic (EM) physics for photons
-
Electromagnetic (EM) physics for charged hadrons and ions
-
Hadronic elastic (HE) physics for hadrons and ions
-
Hadronic inelastic (HI) physics for pions
-
Hadronic inelastic (HI) physics for ions
-
Hadronic inelastic (HI) physics for protons and neutrons
-
Decay for unstable particles
For each item a physics constructor exists, where the physics components must be explicitly activated in the macro file. For some components several physics constructors are implemented, including alternative physics models or processes.
Download Instructions and Environment Setup
Perform the following steps to prepare the environment:
-
Login to the machine 141.25.68.196
-
The exercises should be performed in a c-shell environment. Execute:
tcsh -
For each day, create a new directory, e.g.
mkdir exampleday2 -
Copy the tar-ball G4Tutorial.tgz from /geant4_course/exercises/code into this directory and extract it:
cd exampleday2
cp /home/instructor/course/G4Tutorial.tgz .
tar xzvf G4Tutorial.tgz -
Set up the environment in your current working shell
As a shortcut to defining basic environment variables for the exercises, you can copy a preset file from the instructor's account:
cp /home/instructor/course/env.csh .
Edit env.csh and replace the settings which are specific to the instructor's account with your own; then execute the script
source env.csh -
Compile the example application:
make
(Remember to recompile the application code for each exercise that involves modifying the example)
-
The executable Tutorial is in the directory $G4WORKDIR/bin/Linux-g++, where the environment variable G4WORKDIR is by default set to the path of your home directory, i.e. G4WORKDIR=/home/studentXX/geant4. Perform a test run using the macro file electronbeam.mac:
$G4WORKDIR/bin/Linux-g++/Tutorial electronbeam_vis.mac
-
If you managed to run the macro file successfully, you are ready to start the exercises of the day. Good luck!
Exercises
Please note, that some exercises rely on the successful completion of previous exercises, i.e. previously introduced functionalities might be used at a later stage. These mandatory exercises are marked with a star next to the exercise number (*). If you don't manage to complete them by your own, try to understand the provided solutions and introduce the requested functionality into your code.
Gallery
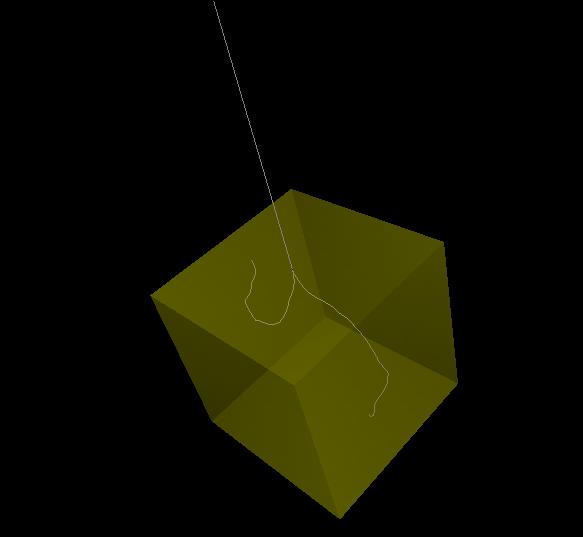
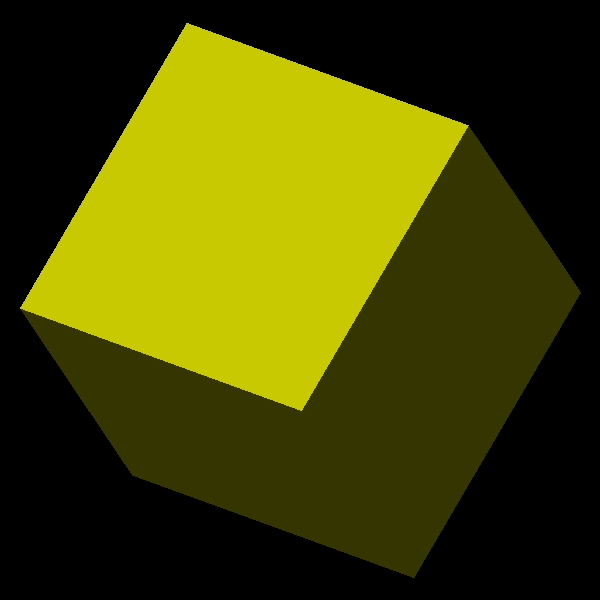
The following pictures show detector of the application example (the pictures were obtained with different visualization tools: VRML and Ray tracer).


